Here is a comprehensive, SEO-optimized article designed to act as a definitive guide for restoring a 1980s Rubik's Cube, written with the depth and structure you requested.
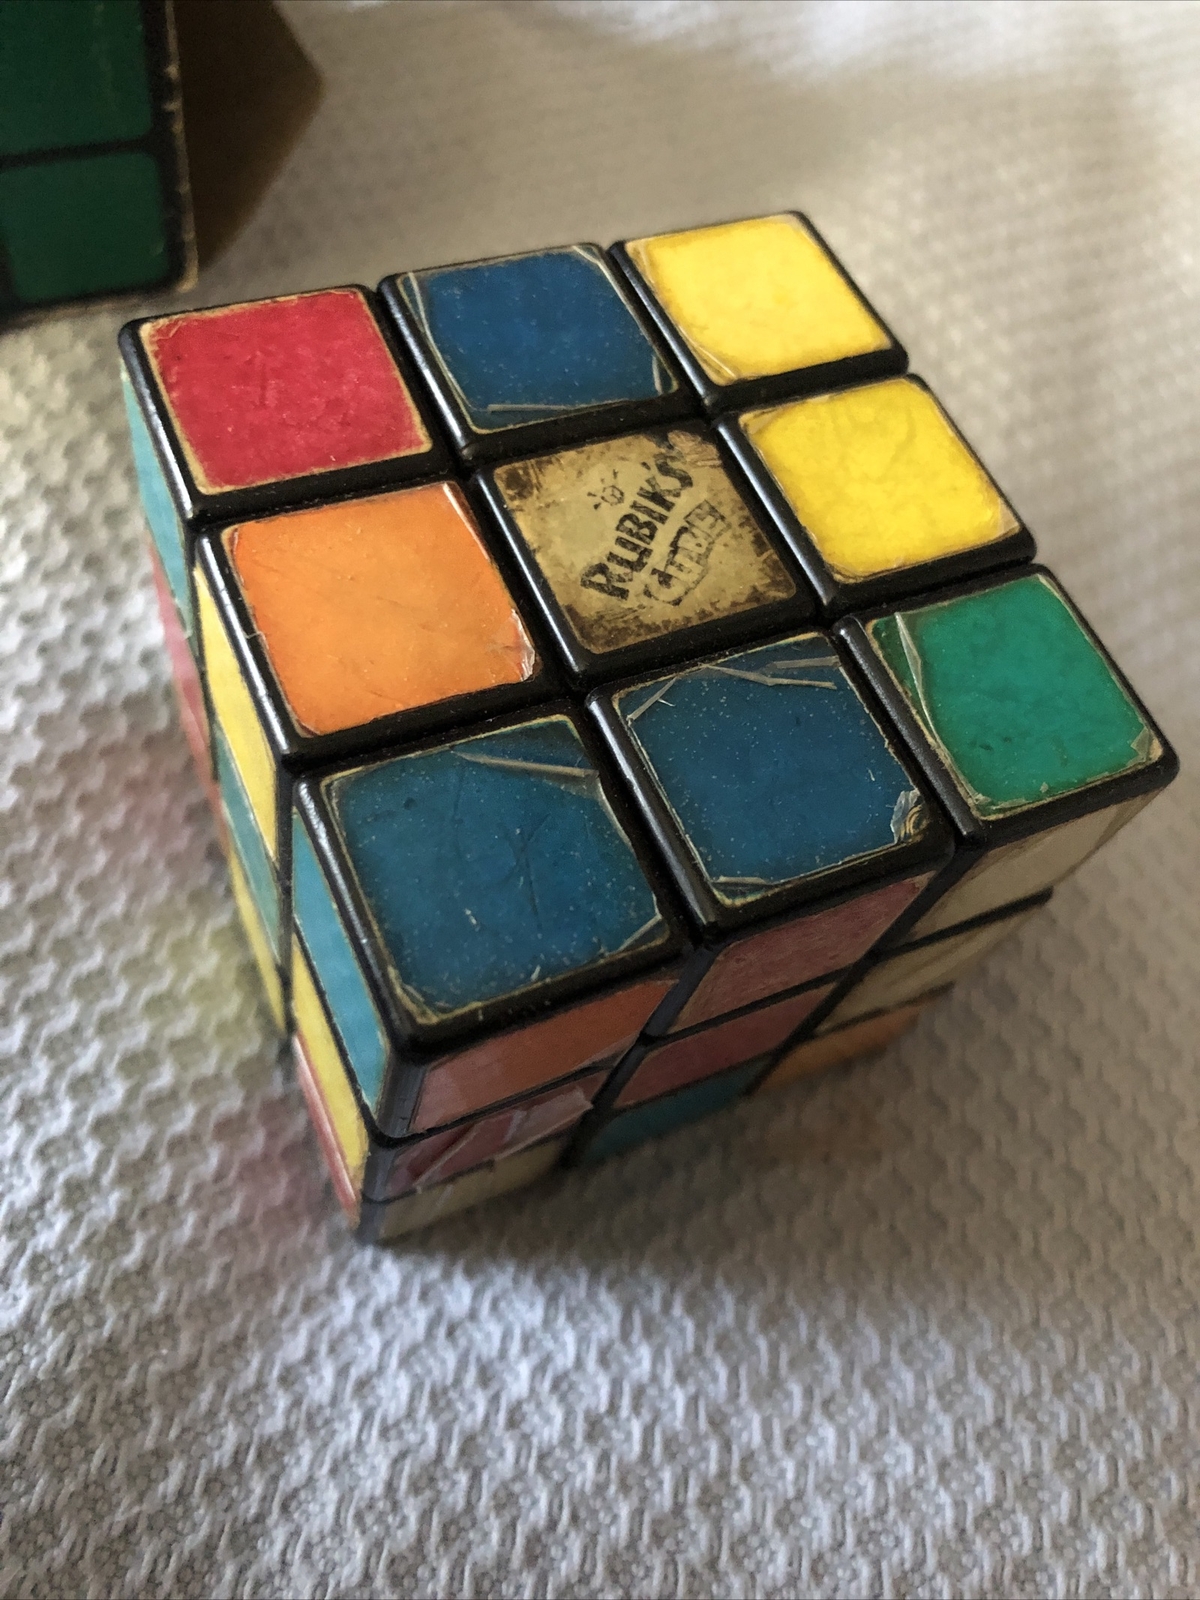
The tactile memory is universal: the bright colors, the frustrating lock-ups, the final satisfying click of the solved cube. The Rubik’s Cube is the undisputed king of puzzles, and the original cubes from the 1980s hold a special magic. But after 40 years in a basement, attic, or garage, that magic can turn to dust. The plastic feels brittle, the turning is crunchy, and the stickers are faded.
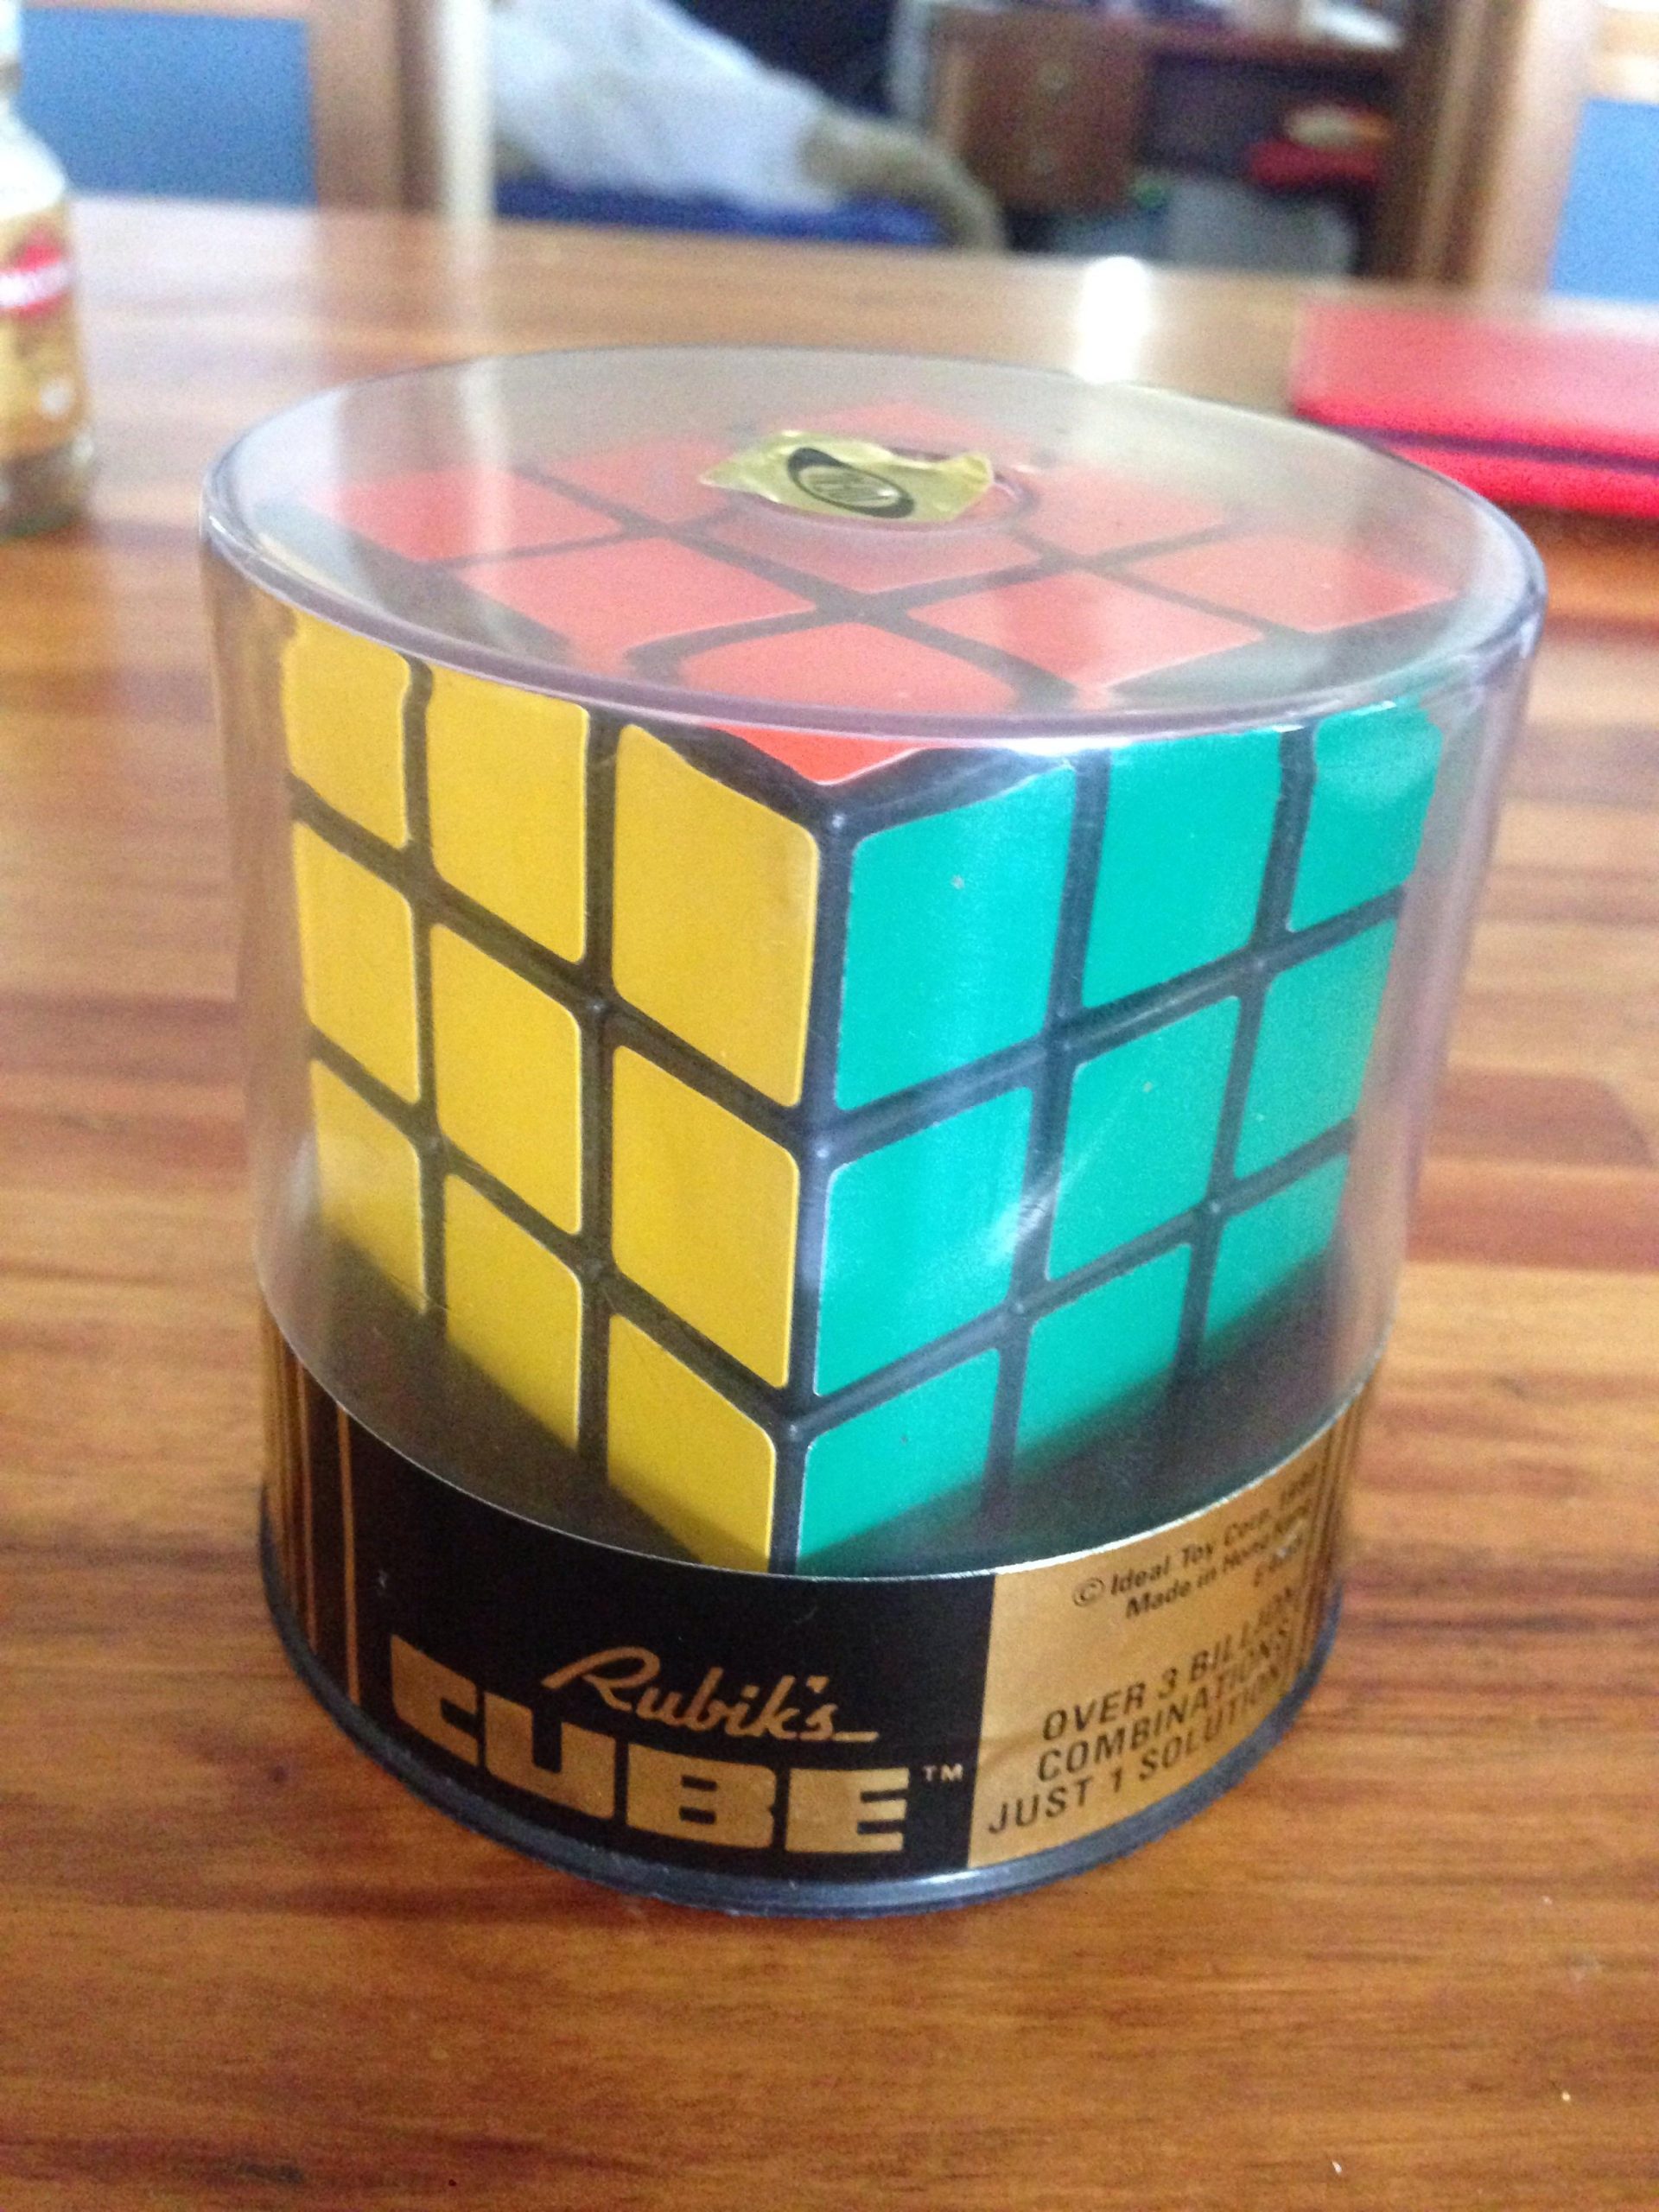
In 2026, the demand for vintage Rubik’s Cube restoration is higher than ever. Collectors and solvers alike are scouring thrift stores and online auctions for these iconic artifacts. A neglected cube is a sad sight, but can it be fixed? Absolutely. This is the definitive guide to breathing new life into your vintage 1980s Rubik’s Cube. We’ll cover everything from deep cleaning and safe disassembly to modern lubrication and sticker replacement, ensuring your retro cube runs smoother than it did on Christmas morning 1980.
What You’ll Need Before You Start
A proper restoration starts with the right tools. Trying to fix a vintage cube with subpar tools is how you crack plastic and strip screws. The ABS plastic used in the 1980s is much more brittle than modern speed cube materials, so gentleness is key.
Materials List:
- Precision Screwdriver Set: A tiny flathead (for prying center caps) and a #0 Phillips head screwdriver are mandatory.
- High-Quality Silicone Lubricant: Traxxas 50K Silicone Diff Oil is the gold standard for restoring vintage cubes. It is thick, long-lasting, and chemically safe for ABS plastic.
- Mild Dish Soap & Warm Water: Dawn or any degreasing dish soap works perfectly.
- Soft Bristle Toothbrush: For deep cleaning the plastic pieces without scratching them.
- Microfiber Cloths: Lint-free drying is critical to avoid dust sticking to new lube.
- Replacement Sticker Set (Optional): If you plan on restoring the visual appeal. Olivér’s Stickers or The Cubicle make exact replicas of the 1980s color scheme.
- Goo Gone or Isopropyl Alcohol (91%): For removing old sticker residue.
- Hairdryer or Heat Gun: To soften old stickers for easy removal.
- Container for Parts: A muffin tin or small plastic organizer is perfect to keep the 26 moving pieces sorted.
CAUTION: 1980s Rubik’s Cubes use a specific type of ABS plastic that becomes brittle with age. It does not have the flexibility of modern cubes. Excessive force will crack the pieces. Patience is your most important tool.
The Chemistry of a 40-Year-Old Cube
Understanding why your cube feels terrible is the first step to fixing it. The ABS plastic used by Ideal Toy in the early 80s was high quality, but it has outgassed plasticizers over the decades. This causes the plastic to become slightly rougher on a microscopic level. Combined with the dust, dirt, and hardened factory grease from 40 years, the pieces are literally grinding against each other.
Deep cleaning removes the dirt, and the right silicone lube fills the microscopic valleys in the plastic. This is why you can't just "play it smooth"—you have to chemically and physically reset the contact surfaces.
Step 1: Diagnosing Your Vintage Puzzle
Before you start unscrewing, you need to know exactly what you are dealing with.
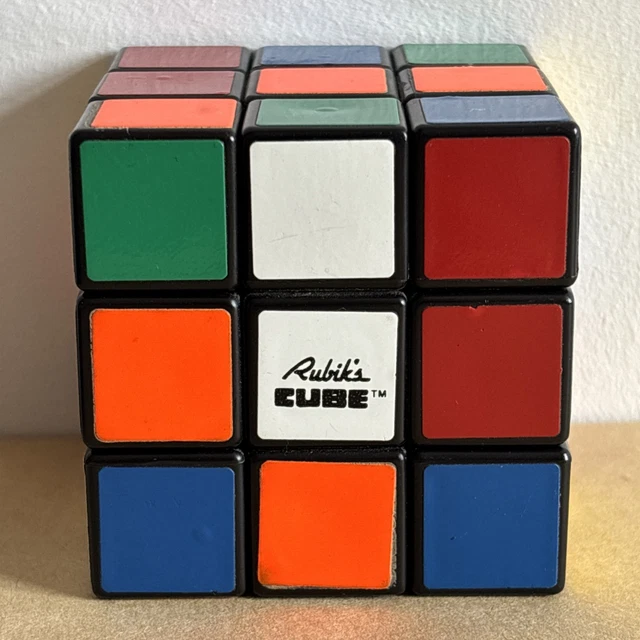
- Check the Origin: Look at the center caps. Does it say "Rubik's Cube" by Ideal Toy Corp, or is it a knock-off? Authentic Ideal cubes from 1980-1982 are considered collectibles. Knock-offs are great for practicing your restoration skills.
- Test the Resistance: Try turning one face 45 degrees. Is it grinding? That’s crystallized dirt and hardened lubricant. Is it frozen solid? The plastic may have swelled, or the old lube has turned into glue.
- Inspect for UV Damage: Vintage yellow plastic is famously sensitive to sunlight. If the cube has a yellow tint on the white side, it has sun damage.
How to verify success: After the assessment, you should know whether you are restoring a high-value collectible or a beater cube for fun. This dictates your approach to the sticker dilemma.
Step 2: Safe Disassembly (The Hardest Part)
This is the point of no return for many beginners. Do not pull the pieces off like a modern speed cube; they are far too fragile.
- Remove the Center Caps: Insert the tiny flathead screwdriver under the edge of the center cap and gently pry upwards. Work your way around the cap. Do not pull straight up, you will snap the peg.
- Remove the Screws: Once the caps are off, you will see the Phillips head screws. Remove them carefully, noting the order of the washers and springs. Place the hardware in your container immediately so you don't lose it.
- Pop the Edges: With the core loose, the edge pieces can be rotated to a 45-degree angle and lifted out. If they are stuck, do not force them.
- The "Hot Water Trick" for Frozen Cubes: If the cube is completely seized, place the entire cube in a Ziploc bag and submerge it in hot (not boiling) tap water for 10 minutes. The heat slightly expands the plastic and loosens the bond. Dry it completely before proceeding.
How to verify success: You should have a pile of 20 corner pieces, 12 edge pieces, and a core with 6 screws/springs. If a piece cracks, it is not the end of the world (see FAQ on replacement parts).
Step 3: Deep Cleaning (The Magic Bullet)
This single step transforms 90% of vintage cubes. The grit you feel is not broken plastic; it is 40 years of grime.
- Soak the Plastic Pieces: Place all edge and corner pieces in a bowl of warm soapy water. Let them soak for 15-20 minutes.
- Scrub Thoroughly: Use the soft toothbrush to scrub the interior channels of every piece. Pay special attention to the contact points (the round stems of the corners and the flat surfaces of the edges).
- Clean the Core: Wipe the plastic core with a microfiber cloth dipped in soapy water. Do not submerge the core. Dry the core immediately to prevent rust on the screws.
- Rinse and Dry: Rinse the pieces with clean water, pat dry with a cloth, and let them air dry on a towel for 24 hours. Any moisture trapped inside will ruin the lube and could cause mold.
How to verify success: The pieces should look matte and feel dry and smooth to the touch. There should be no visible grime in the channels. If you blow air through the edge piece, it should flow freely.
Step 4: The Great Sticker Debate
In 2026, the "patina" look is very popular in the vintage cube community. Does your cube need new stickers?
Keeping the Patina
If the stickers are original but just a little loose, you can use a tiny drop of Aleene’s Tacky Glue or a photo mounting square under the peeling corners. This preserves the historical character and the original color palette (which was a distinct orange-red and navy blue, different from modern neons).
The Full Replacement Method
If the stickers are torn, bubbled, or disgustingly dirty, replace them.
- Removal: Use a hairdryer on the stickers for 30 seconds. Peel slowly. Use Goo Gone or isopropyl alcohol to remove the sticky residue.
- Color Matching: The 1980s red is close to an orange-red. Modern vinyl sets often have wrong hues. Look specifically for "Vintage Retro" sticker sets from Olivér's Stickers.
- Application: Use a piece of tape as a hinge to align the sticker perfectly before flattening it. Use a credit card to squeeze out air bubbles.
How to verify success: Your cube should look visually vibrant. If you kept the patina, the stickers should lay flat. If you replaced them, the alignment should be flawless with no bubbles.
Step 5: Lubrication – Bringing It into 2026
This is the step that makes a vintage cube feel like a modern speed cube. Forget the CRC spray of the 80s; we have evolved.
Why Silicone? Silicone lubricant is non-reactive. It will not dissolve the ABS plastic, attract dust like crazy, or harden over time. Traxxas 50K Silicone Diff Oil is widely considered the best lubricant for vintage 1980s Rubik's Cubes.
- Applying to the Core: Before reassembling the core, put a tiny drop of Traxxas 50K on the spring and inside the screw hole. This removes the "sproing" sound and allows the tension to feel consistent.
- **Lubing the Mechanism:**Take a corner piece. Apply a tiny drop of lube to the stalk and the inner foot.Assemble a cross (e.g., White cross).Add the corners of the first layer.Continue assembling the whole cube layer by layer, adding a tiny drop of lube to every contact surface.
- Take a corner piece. Apply a tiny drop of lube to the stalk and the inner foot.
- Assemble a cross (e.g., White cross).
- Add the corners of the first layer.
- Continue assembling the whole cube layer by layer, adding a tiny drop of lube to every contact surface.
- Avoid Over-Lubing: Vintage cubes do not have the complex channeling of modern cubes. Too much lube will make the cube sluggish and gummy.
How to verify success: Once fully assembled, test the turning. It should feel smooth and slightly "sticky" from the lube. This is normal. It will break in.
Step 6: Reassembly and Tensioning
A freshly assembled cube is not yet a restored cube. You must finish the mechanical setup.
- Initial Tensioning: Turn each face. If one is too tight, loosen the corresponding center screw by an 1/8th of a turn. If it pops, tighten it.
- The 200 Solve Break-In: Solve the cube 50-100 times. The lube will spread, and the plastic will settle. The cube will get faster and smoother.
- Final Tensioning: After the break-in, re-tighten the screws slightly. The goal is a perfect balance between stability and speed.
Common Mistakes That Ruin Vintage Cubes
- Never Use WD-40: It degrades into a varnish-like gum and will permanently ruin the vintage plastic.
- Do Not Force the Pieces: If the cube is not coming apart, apply heat (hot water) or use the "screw removal first" method.
- Beware of Modern Parts: If you need to replace a piece, look for "Ideal Core" or genuine vintage listings on eBay. Modern pieces from a current Rubik's Brand cube will have slightly different tolerances and might not fit.
Frequently Asked Questions
**Q: Why is my vintage cube so hard to turn?**A: 90% of the time, it is just dirt and old lubricant that has hardened. Following the deep cleaning steps (Step 3) usually fixes this completely. If it is still stiff, the plastic may have swollen, requiring slight sanding of the contact points (an advanced technique).
**Q: Will restoring my cube decrease its value?**A: For a "Mint in Box" collectible, yes—opening the box ruins the value. For a used cube, deep cleaning and lubrication increase the value because it makes the puzzle functional again. Sticker replacement is a personal choice; purists prefer original patina, while buyers love a clean look.
**Q: What is the best lubricant for a vintage 1980s Rubik's Cube?**A: Traxxas 50K Silicone Diff Oil. It is thick enough to feel substantial but smooth enough to glide. DNM-37 is a thinner alternative if you prefer a faster, quieter feel, though it can be harder to find in 2026.
**Q: My cube is missing a piece. Where can I get a replacement?**A: Check online marketplaces like eBay for "vintage Rubik's Cube parts" or "donor cube". You can also find 3D printing files online, though the fit will require sanding. Avoid buying a cheap modern cube for parts, as the plastic chemistry is different.
**Q: Should I superglue the center caps?**A: No. The center caps are necessary for accessing the tensioning screws. If they fall off, use a tiny piece of double-sided tape instead.
Conclusion
Restoring a vintage 1980s Rubik’s Cube is more than just cleaning a toy. It is a rite of passage for any puzzle enthusiast. It is the perfect intersection of nostalgia, mechanical tinkering, and modern puzzle technology.
By carefully disassembling, deeply cleaning, and thoughtfully lubricating your cube using the methods outlined above, you don't just bring a relic back to life—you create a functional piece of art that can be solved, collected, and cherished for another 40 years.
Don't let your vintage cube sit in a dusty box. Grab your screwdriver, watch the grime wash away, and experience the joy of a 1980s cube turning like it is 2026. The best time to restore a classic was 20 years ago. The second best time is right now.