Creating a Rubik's Cube mosaic art piece has evolved from a niche hobby into a sophisticated form of digital expression and community engagement. As we move through 2026, the intersection of puzzle-solving mechanics and visual storytelling offers an unprecedented opportunity for artists, educators, and local communities to create stunning, three-dimensional masterpieces. Whether you are looking to decorate your home in Austin, inspire students in Chicago, or simply challenge yourself with a massive project, understanding the mechanics of cube mosaics is essential. This guide provides a comprehensive roadmap for building these intricate artworks, blending modern software tools with timeless manual assembly techniques.
The concept, known as Rubikubism, was pioneered by Danish artist Ole Kortzau in 2006, but it has seen a renaissance in recent years thanks to accessible technology. In 2026, you no longer need to be a professional speedcuber to attempt this; however, having the right materials and a strategic plan remains critical. We will explore everything from selecting high-contrast images to sourcing affordable mini-cubes, ensuring your final creation is both visually striking and structurally sound.
Understanding the Fundamentals of Cube Mosaic Art
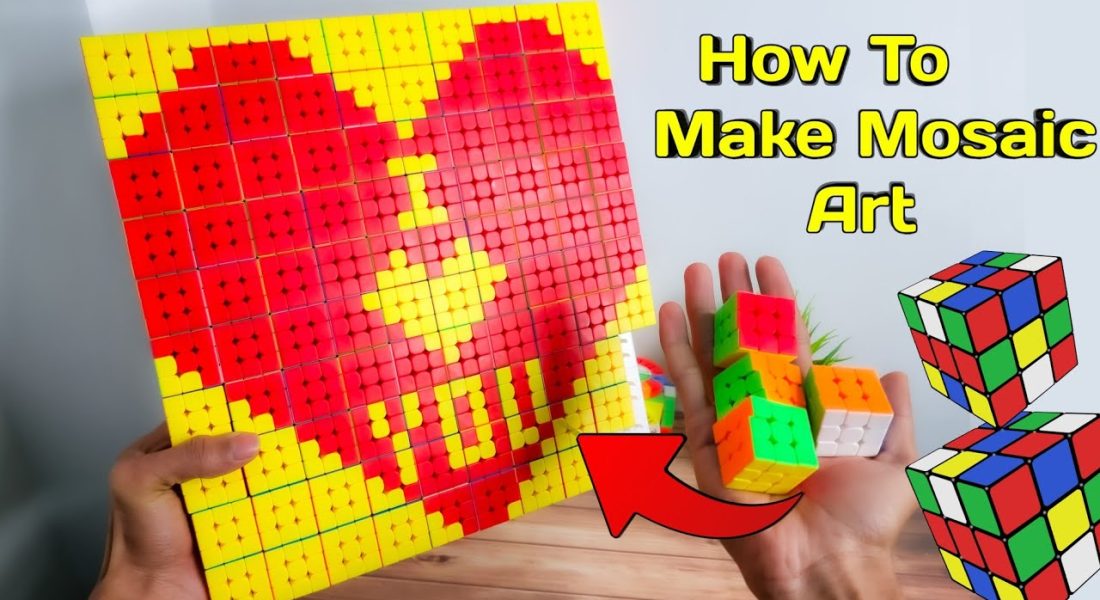
Before diving into the construction phase, it is vital to grasp what makes a Rubik's Cube mosaic unique compared to traditional pixel art or standard puzzles. A mosaic is essentially a large-scale image constructed from individual units—in this case, 3×3 cubes. Each cube acts as a single pixel in the larger composition. However, unlike a flat digital screen, a physical cube mosaic relies on the orientation of six colored faces. To create a cohesive image, every cube must be rotated so that only the specific color required for that spot of the image is visible, while the other five sides are hidden or blended into the background structure.
This art form requires a deep understanding of color theory and spatial arrangement. The most successful mosaics utilize high-contrast images. Low-contrast photos often result in muddy colors when translated into the rigid six-color palette of a standard Rubik's Cube (typically Red, Orange, Yellow, Green, Blue, and White). When planning your project, consider how light interacts with the 3D surface. Shadows cast by protruding cubes can enhance depth, while flat arrangements create a smooth, poster-like effect.
The Evolution of Accessibility
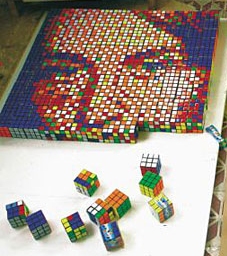
In the past, creating a cube mosaic was prohibitively expensive and difficult due to the sheer number of cubes required. A medium-sized portrait might need hundreds of cubes, costing upwards of several hundred dollars if buying premium speedcubes. However, the landscape changed significantly leading up to 2026. The market now offers mini Rubik's cubes specifically designed for mosaic building. Companies like Gan Cube and various budget-friendly manufacturers have introduced sets containing 36, 100, or even 500 mini-cubes at accessible price points. These smaller cubes reduce the overall footprint of the artwork while maintaining the aesthetic appeal, making it feasible for families and schools to participate.
Sourcing Materials and Planning Your Collection
The success of any how to build a rubiks cube mosaic art piece project hinges entirely on preparation. Rushing into assembly without the correct tools or a solid material list often leads to frustration and wasted time. You need to decide on your scale first. Are you building a small desk ornament, a wall hanging, or a floor-to-ceiling installation? Your scale dictates the quantity of cubes needed and the type of base structure required.
Choosing the Right Cubes
For 2026, the recommendation is clear: opt for standardized color schemes. While custom sticker sets exist, sticking to the classic Western color opposite pairs (Red opposite Orange, Blue opposite Green, Yellow opposite White) ensures compatibility with almost all online generators and algorithms. If you are working with a limited budget, look for "mosaic packs" which often come pre-sorted or in bulk quantities cheaper than retail singles. Avoid cheap, poorly aligned cubes where the center pieces spin loosely; inconsistent turning mechanisms will make the final rotation of individual cubes to match the image incredibly tedious.
Essential Tools for Assembly
You cannot build a mosaic with just your hands. Precision is key. Here is the toolkit you need:
- Mini-Cube Sets: Purchase bundles of 100+ mini-cubes for better value and consistency.
- Sticky Tape or Glue: Depending on your design, you may need to secure stickers or use a tiny amount of non-permanent adhesive to keep orientations fixed once set.
- A Sturdy Base Board: A foam board, plywood sheet, or magnetic grid is necessary to hold the cubes in place during construction.
- Image Printing Tools: High-resolution printers capable of printing on cardstock or specialized paper for your reference guide.
- Allen Keys: Small hex keys are often needed to tighten the core screws of speedcubes for optimal performance.
Calculating Your Cube Count
One of the most common mistakes beginners make is underestimating the number of cubes required. Remember that each cube contributes one face to the image. If your target image is 100 pixels wide and 100 pixels tall, you technically need 10,000 cubes. However, since each cube has multiple potential faces, efficient packing reduces this number slightly, but you should always buy 10-15% extra to account for damaged stickers or misalignments. For a local community event in Seattle, for instance, organizing a group build of a city skyline might require over 5,000 cubes, necessitating a coordinated supply chain well in advance.
Leveraging Technology for Design and Generation
Modern technology has democratized the creation of complex mosaics. You do not need to manually calculate which way to turn every single cube. Instead, you can use specialized software to convert a standard photograph into a cube mosaic blueprint. This process involves pixelation, color quantization, and algorithmic scrambling simulation.
The Online Generator Workflow
The most popular method involves using free online tools like the Rubik's Cube Mosaic Generator found on sites such as Ruwix. The workflow is surprisingly intuitive:
- Upload Your Image: Drag and drop your chosen photo into the browser. For best results, ensure the image is square and has high contrast. Remove backgrounds if the subject is isolated.
- Set Dimensions: Input the desired number of cubes. Most generators allow you to scale from small 10×10 grids up to massive 7×7 per-cube resolutions.
- Color Optimization: The tool analyzes your image and maps it to the six available cube colors. It will suggest adjustments to brightness and contrast to ensure the final print looks vibrant.
- Download the Blueprint: The generator produces a detailed map where each square represents a cube orientation. Some advanced versions even provide the sequence of moves to solve the cube from its scrambled state to the target image, though for mosaics, you usually start solved and rotate faces.
Advanced Customization Techniques
While automated generators are powerful, true artistic expression often requires manual tweaking. In 2026, enthusiasts use image editing software like Photoshop or GIMP to refine their source images before uploading them.
- Contrast Boosting: Increase the saturation and contrast to make edges pop. Mosaics struggle with gradients; sharp transitions work best.
- Background Removal: Isolate your subject completely. A busy background distracts from the main focal point and wastes valuable cube real estate.
- Color Palette Adjustment: If your image contains shades of purple or teal that don't exist on a standard cube, edit the image to approximate these with the nearest available cube colors (e.g., mixing blue and red to simulate purple, though this is rarely effective in hard-edge mosaics).
Some creators also experiment with non-standard color schemes. By using specialty cubes with different center colors, you can expand your palette beyond the traditional six, allowing for more nuanced portraits. However, this complicates the generation process and requires custom code or manual mapping, which is recommended only for experienced builders.
Step-by-Step Construction Methodology
Once you have your materials and your digital blueprint, it is time to transition from the virtual world to physical assembly. Building a Rubik's Cube mosaic art piece is a meditative, labor-intensive process that rewards patience with a breathtaking result. The following six-step methodology ensures a clean, professional finish suitable for display in homes, galleries, or public spaces.
Step 1: Prepare Your Workspace and Base
Create a dedicated area with ample lighting. A cluttered table leads to lost pieces and frustration. Lay down your sturdy base board. If you are building a large piece, consider constructing a frame around the perimeter to act as a border. This not only adds structural integrity but also frames the artwork professionally. Ensure the surface is level; unevenness will cause cubes to wobble or fall off during the long assembly process.
Step 2: Organize Your Inventory
Sort your mini-cubes by color before you begin. While some builders prefer to grab cubes randomly and solve them later, this is inefficient for mosaics. Instead, group your cubes into piles based on the dominant color needed for specific sections of your image. For example, if the sky in your image is mostly blue, gather all your blue-center cubes together. This organization speeds up the process immensely and reduces cognitive load.
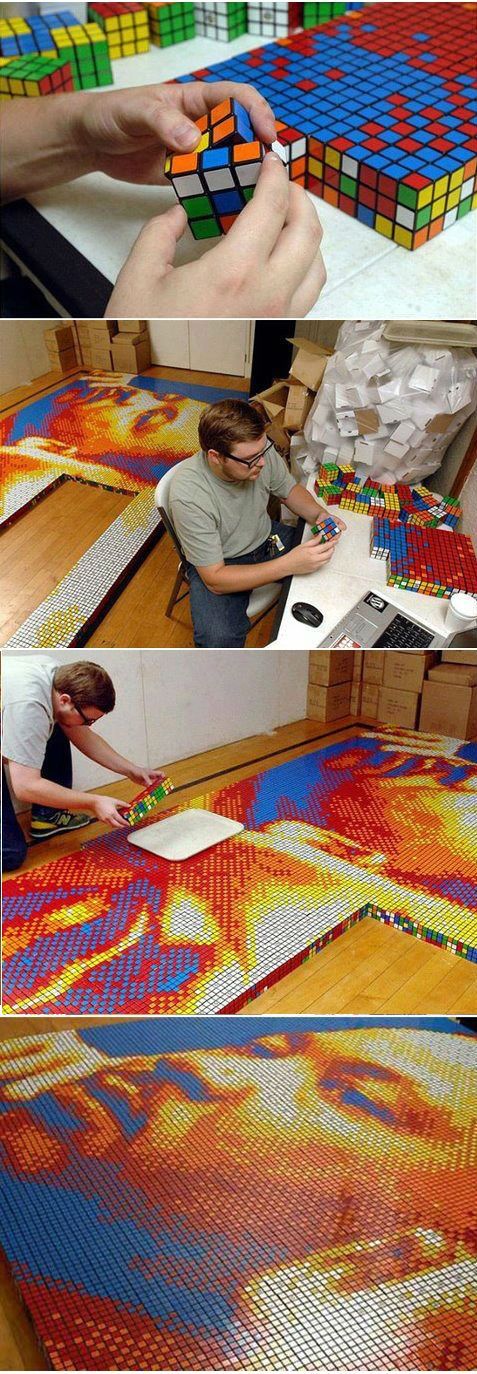
Step 3: Follow the Blueprint Systematically
Start building from the bottom left corner and work your way across, row by row. Refer constantly to your generated blueprint. Take one cube at a time. Align it so the correct color faces the viewer.
- Tip: Hold the cube by the edges rather than the center to avoid smudging stickers.
- Technique: If using a magnetic base, simply snap the cube into place. If using a non-magnetic board, you may need to press firmly or use a tiny dab of glue on the back of the cube for permanence.
- Consistency: Double-check every orientation. One misaligned cube can ruin the illusion of the image at that specific pixel location.
Step 4: Manage Edges and Corners
The edges of your mosaic are the most challenging part. Cubes on the perimeter have fewer neighbors, making them less stable. You may need to reinforce these areas with additional supports or careful gluing. Corners require special attention to ensure the angle of the cube matches the perspective of the surrounding rows. If your design includes diagonal lines, pay extra attention to the stair-stepping effect that occurs when rotating cubes at 45-degree intervals.
Step 5: Continuous Quality Control
As you progress, step back frequently to view the image as a whole. From a distance of ten feet, does the picture look coherent? Are there "noise" pixels where the colors clash? If you spot an error early, you can disassemble that section relatively easily. Do not wait until the top row is complete to realize you made a mistake three rows down. Regular inspection prevents costly rework.
Step 6: Final Assembly and Mounting
Once the entire grid is filled, perform a final review. Clean any fingerprints off the stickers with a microfiber cloth. If you used temporary adhesives, apply a permanent, archival-grade glue to the backs of the cubes to secure them permanently to the base. Finally, mount the completed mosaic onto a wall using heavy-duty hardware rated for the weight of the piece. For heavy installations, consider hiring a professional installer familiar with handling large, fragile art objects.
Community Engagement and Educational Applications
Beyond personal satisfaction, Rubik's Cube mosaic art serves as a powerful tool for community building and education. In cities like Denver, Boston, and Portland, local libraries and maker spaces have begun hosting "Mosaic Mondays" where groups of volunteers come together to build a single large-scale piece. This collaborative approach transforms a solitary task into a social event, fostering teamwork and shared accomplishment.
Classroom Integration
Educators are increasingly integrating cube mosaics into STEM curricula. The activity teaches spatial reasoning, color theory, and algorithmic thinking. Students learn how computers process images by breaking them down into pixels, mirroring the way the human brain constructs a mosaic from individual cubes. Furthermore, the math involved in calculating the total number of cubes needed for a specific dimensions project reinforces concepts of area, volume, and multiplication.
Therapeutic Benefits
For individuals dealing with anxiety or ADHD, the repetitive, focused nature of assembling a cube mosaic offers significant therapeutic benefits. The requirement for mindfulness—being present in the moment to get the color right—acts as a form of meditation. Many occupational therapists recommend this activity for developing fine motor skills and hand-eye coordination, particularly for children who enjoy tactile learning styles.
Troubleshooting Common Challenges
Even with the best planning, challenges arise. Understanding how to troubleshoot these issues will save you time and preserve your sanity.
Problem: Misaligned Colors
If your image looks blurry or the colors don't match the blueprint, check your cube alignment. Ensure that the center piece of each cube is indeed the color facing forward. Sometimes, during shipping, cubes arrive scrambled. You may need to spend time solving individual cubes to their "home" position before starting the mosaic assembly.
Problem: Running Out of Specific Colors
It is common to find that you have too many red cubes and not enough green ones. To fix this, you can either purchase additional loose cubes or modify your image selection. Use an image editor to replace the missing color with a similar hue that you have in abundance, effectively recoloring the digital source to match your physical inventory.
Problem: Structural Instability
Large mosaics can sag or warp if the base isn't rigid enough. If your foam board bends under the weight of thousands of cubes, switch to a wooden panel or reinforce the back with cross-bracing. Additionally, ensure your cubes are tight; loose centers make it impossible to hold the correct orientation while pressing the cube into place.
Future Trends in Cube Artistry
As we look toward the future of Rubik's Cube mosaic art in 2026 and beyond, several exciting trends are emerging. The integration of augmented reality (AR) is one such development. Imagine scanning your physical cube mosaic with a smartphone and seeing animated layers overlay the static image, telling a story or revealing hidden messages. This hybrid approach bridges the gap between physical craftsmanship and digital interactivity.
Another trend is the rise of modular mosaic systems. Instead of gluing cubes permanently, artists are designing magnetic frameworks that allow viewers to rearrange sections of the artwork, changing the image entirely depending on the configuration. This turns the art piece into an interactive exhibit, perfect for museums and dynamic public displays.
Furthermore, the sustainability aspect is gaining traction. Builders are increasingly using recycled plastic cubes or biodegradable materials for their bases, aligning the hobby with environmental consciousness. As the cost of 3D-printed custom cube shells decreases, we may see personalized designs where every cube is uniquely shaped yet fits perfectly into the grid, pushing the boundaries of what a mosaic can look like.
Conclusion
Building a Rubik's Cube mosaic art piece is a journey that blends mathematical precision with artistic vision. Whether you are a seasoned speedcuber looking for a new challenge or a beginner eager to create something unique for your home, the steps outlined in this guide provide a clear path forward. From leveraging modern online generators to meticulously placing each cube, the process is rewarding on multiple levels. It offers a tangible connection to digital art, a satisfying tactile experience, and a profound sense of achievement when the final image emerges from chaos.
In 2026, the barriers to entry have never been lower, and the possibilities for creativity are endless. By gathering your materials, planning your design, and committing to the assembly process, you can create a masterpiece that stands as a testament to patience, skill, and the enduring appeal of the Rubik's Cube. So, gather your friends, fire up your favorite image generator, and start building your next great mosaic today. The world is waiting to see your vision come to life, one cube at a time.
Frequently Asked Questions (FAQ)
Q: How many cubes do I need to build a medium-sized mosaic?
A: For a medium-sized mosaic approximately 20 inches wide by 20 inches high, you will typically need between 400 and 600 standard 3×3 cubes, depending on the resolution and whether you are using full-face or partial-face displays. If using mini-cubes, the count will be higher due to their smaller size.
Q: Can I use regular Rubik's Cubes or do I need mini-cubes?
A: You can use regular 3×3 cubes, but they will result in a much larger, coarser image. Mini-cubes are highly recommended for detailed portraits or landscapes as they allow for higher pixel density and a smoother appearance. Mini-cubes are also lighter and easier to handle in large quantities.
Q: Is it possible to create a mosaic without an online generator?
A: Yes, it is possible but extremely difficult. You would need to manually determine the orientation of every single cube based on a printed photo, which is prone to error and very time-consuming. Online generators automate the color mapping and provide a visual blueprint, making the process accessible to everyone.
Q: What is the best way to store my finished mosaic?
A: Once assembled, the mosaic should be mounted on a rigid backing board. Store it in a cool, dry place away from direct sunlight to prevent sticker fading. If it is a temporary display, ensure it is secured to a wall with appropriate anchors to prevent it from falling.