Understanding the Frustration of an Unsolved Rubik's Cube
Picking up a Rubik's cube for the first time usually begins with enthusiasm, but it frequently ends in a mess of scrambled colors and pure bewilderment. If you find yourself staring at a half-finished puzzle wondering why can't i solve my rubik's cube, you are definitely not alone. Millions of people face this exact mental block every single day. The cube looks deceivingly simple, yet it contains over 43 quintillion possible configurations, meaning random twisting will almost never yield a solution.
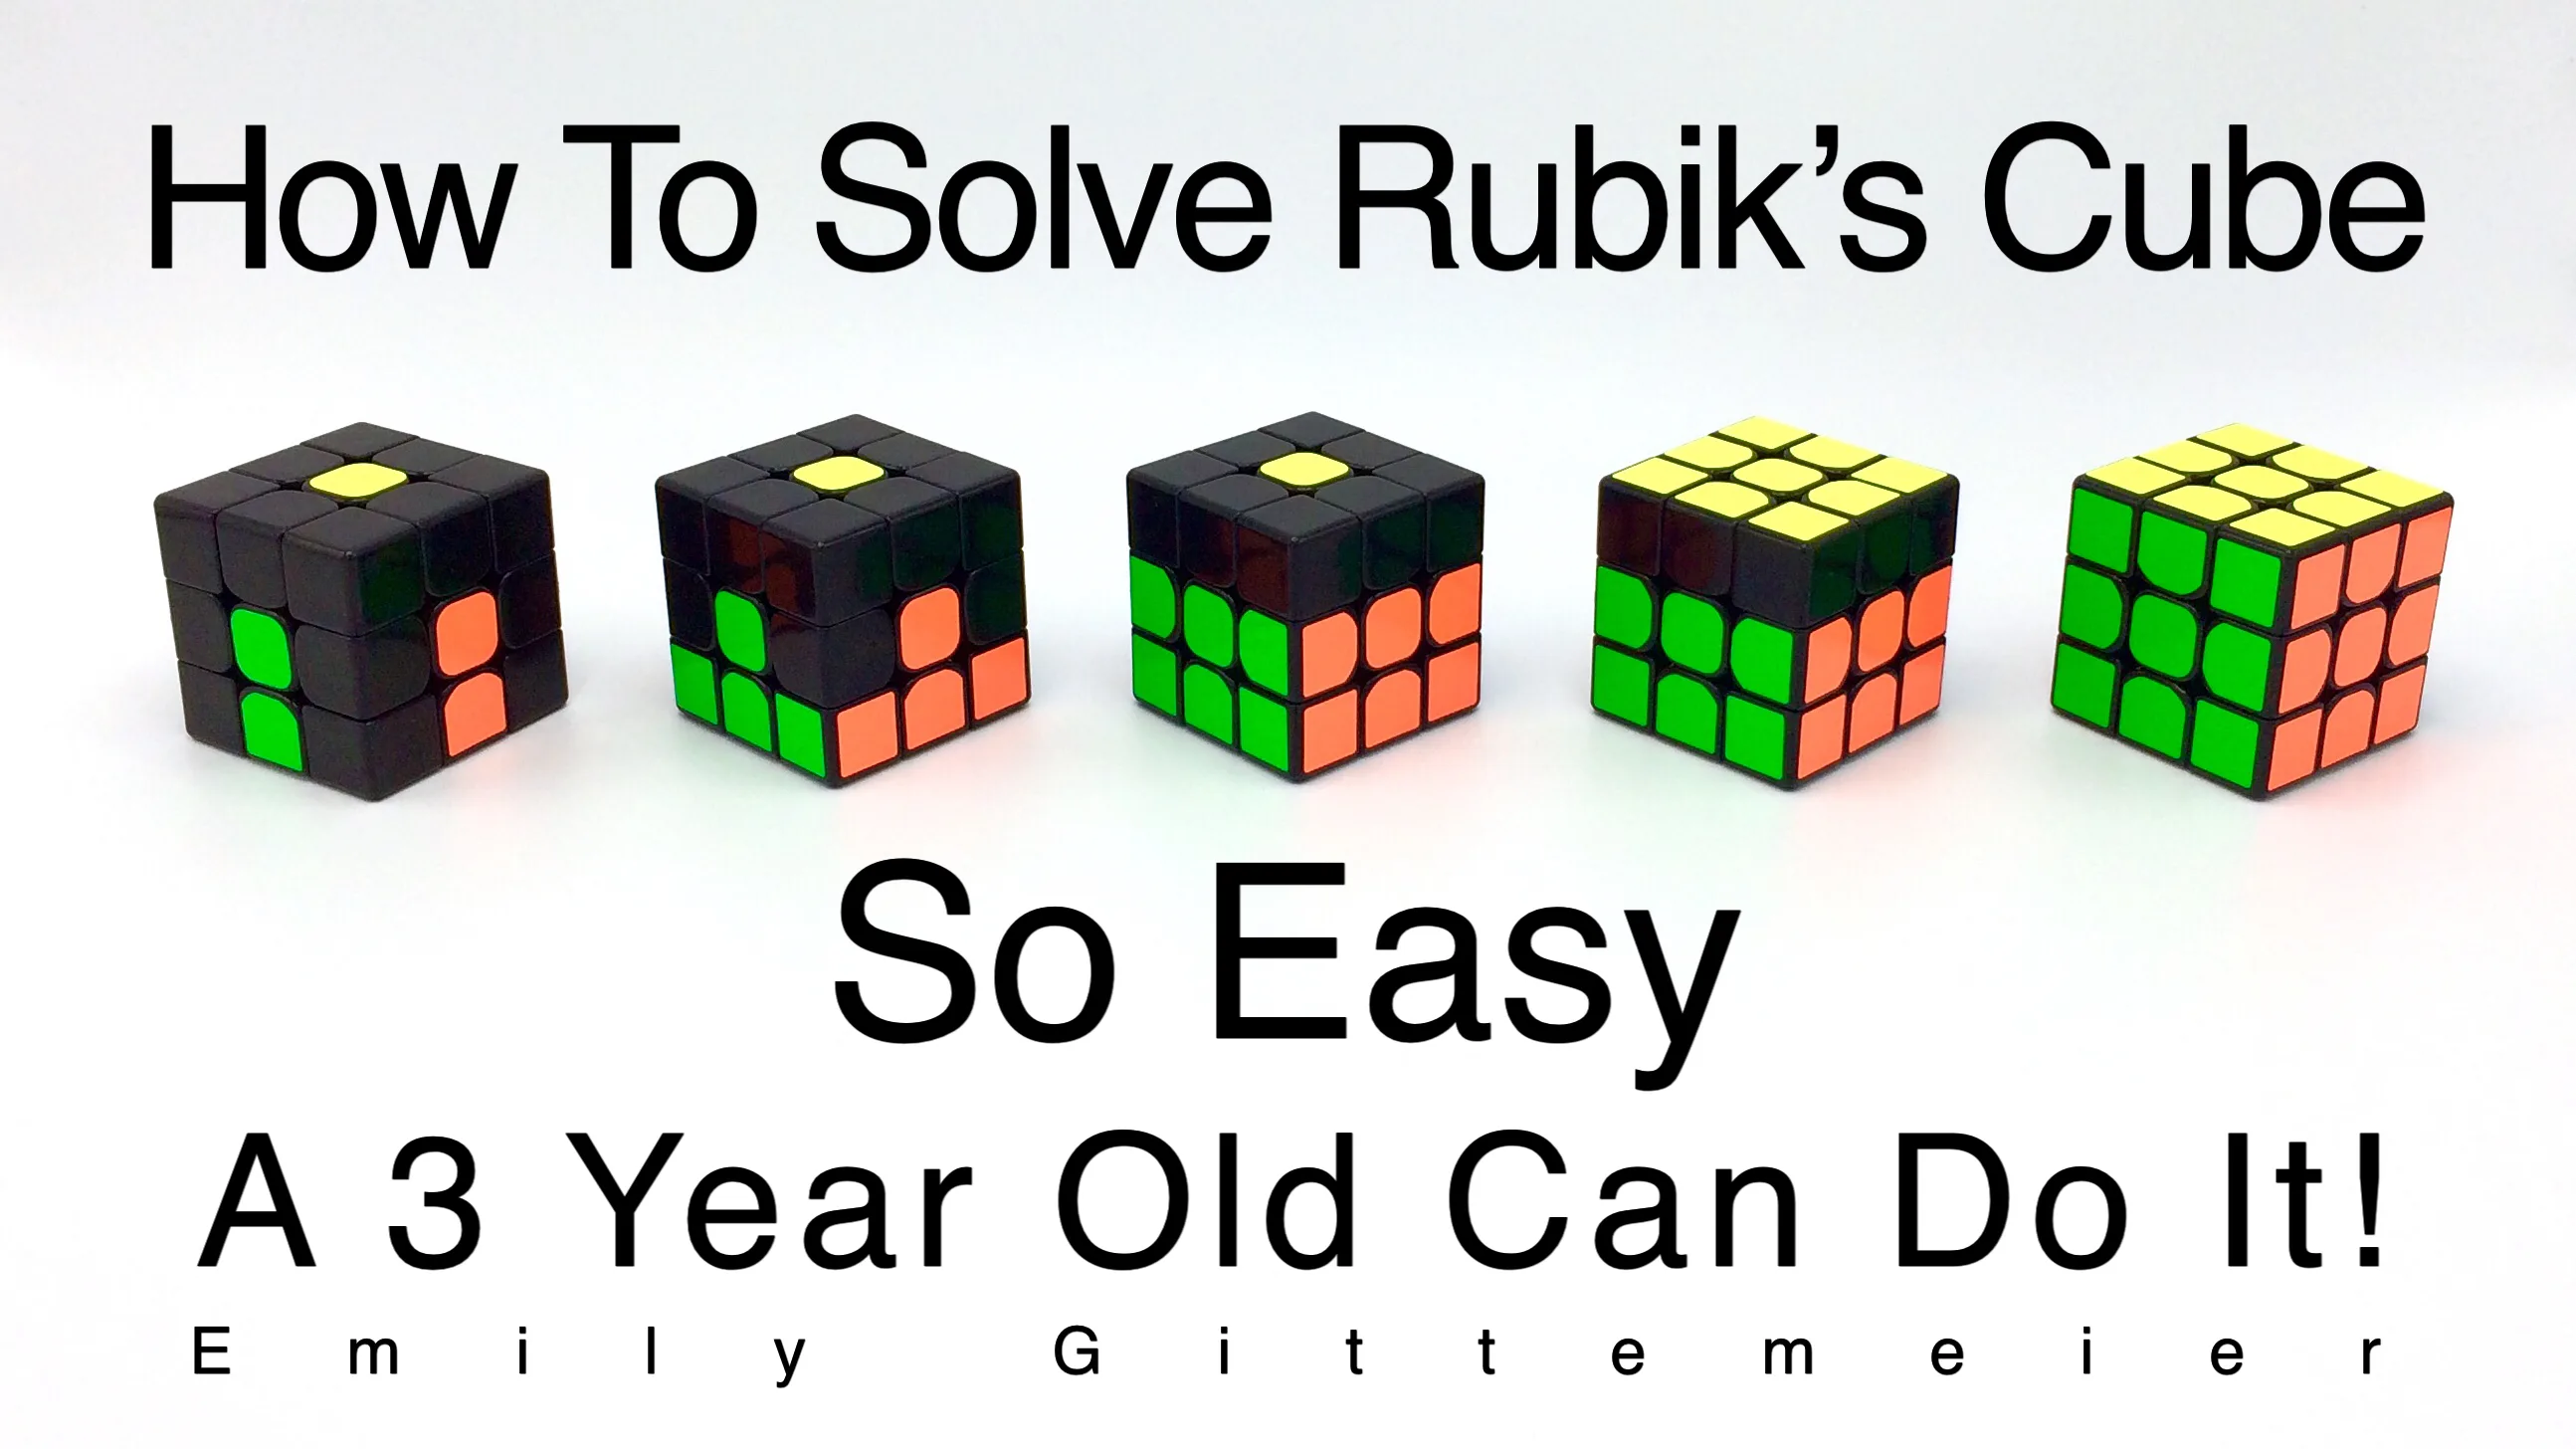
Most beginners make the mistake of trying to solve the puzzle side by side rather than layer by layer. This intuitive approach completely ignores the mechanical reality of how pieces interact with one another. When you fix one side, you inevitably destroy progress made on another. To break this frustrating cycle, you need to step back, understand the core mechanics, and adopt a systematic strategy. For a complete foundational breakdown, check out How to Solve a Rubik's Cube for Beginners: A Step-by-Step Guide to reset your approach.
Another major reason for failure is improper cube maintenance and tensioning. If your puzzle constantly catches, locks up, or corner-cuts poorly, you might waste physical energy fighting the hardware instead of focusing on the logic. Modern speedcubes offer much smoother turning, but even a standard puzzle needs to be aligned correctly before executing finger tricks. Recognizing these physical and mental barriers marks your very first step toward permanent mastery.
Layer 1 Essentials: Where Most Beginners Go Wrong
The foundation of any successful solve lies in mastering the white cross and the first layer. Many cubers rush this phase, leading to misaligned center pieces that ruin everything later.
- Ignoring the center pieces and assuming colors can go anywhere on the face without matching the surrounding core.
- Forgetting to align the side edges of the cross with their corresponding vertical center colors, creating an invisible error.
- Placing corner pieces upside down because they failed to check the orientation of the white sticker.
- Failing to look ahead during corner insertion, which causes accidental disruption of previously solved edge pieces.
- Relying on random luck rather than understanding the four-move trigger sequence.
- Losing track of the bottom layer while manipulating the top layer during edge insertion steps.
Building a rock-solid first layer requires patience and absolute precision. If your cross looks correct on the bottom face but the side colors do not match the centers, your entire subsequent layer will be fundamentally broken.
Layer 2 Operators: Conquering the Middle Edge Pieces
Mastering the Right and Left Insertion Algorithms
- Locate an edge piece on the top layer that does not contain a yellow sticker.
- Rotate the top layer until the front color of that edge piece matches a vertical center color, forming a large T-shape.
- Examine the top sticker of that edge piece to determine whether it needs to move to the right slot or the left slot.
- Execute the standard right algorithm if the edge must move to the right, or the mirror-image left algorithm if it must move left.
- Ensure you track your corner piece during the algorithm so it does not get knocked out of position.
- Repeat this process for all four middle layer edges until the entire bottom two tiers are completely solid.
Troubleshooting Middle Layer Mistakes
- Inserting an edge into the wrong orientation because the top and front colors were misread.
- Accidentally knocking out a solved bottom corner while executing the middle layer turning sequence.
- Panicking when an edge is trapped upside down in the middle layer and not knowing how to pop it out.
Layer 3 Experts: Edge Cases, Parity, and Advanced Obstacles
Once you reach the final layer, random intuition completely stops working. You must rely on precise algorithms to orient and permute the remaining pieces without destroying your hard-earned lower layers.
- Mistaking a yellow dot for a line, leading to an incorrect cross-formation algorithm.
- Executing permutation algorithms from the wrong angle, which scrambles the edges right back to where they started.
- Forgetting that turning the cube upside down halfway through a sequence inverts all your directional logic.
- Misidentifying corner parity on larger puzzles if you stepped up to a 4x4 too early without learning proper reduction methods.
| Problem Stage | Common Symptom | Primary Cause | Corrective Action |
|---|---|---|---|
| Cross Phase | Mismatched centers | Ignoring core alignment | Align side edges with fixed center pieces |
| First Layer | Upside down corners | Incorrect trigger sequence | Re-orient using standard four-move trigger |
| Middle Layer | Trapped edge pieces | Wrong algorithm direction | Pop out edge using basic insertion move |
| Final Layer | Infinite loop scrambling | Wrong holding orientation | Check front face alignment before turning |
How to Climb Layers Systematically Without Getting Overwhelmed
Learning to solve a puzzle is very similar to learning a musical instrument; it requires breaking complex movements down into manageable chunks of muscle memory.
- Isolate your practice sessions to one specific layer at a time until you can complete it without looking at a cheat sheet.
- Master the fundamental right-hand and left-hand trigger moves until your fingers can execute them effortlessly without thinking.
- Practice finger tricks slowly to build mechanical fluency rather than rushing and introducing hand cramps or misaligned turns.
- Review your mistakes immediately after a failed solve to identify precisely which step caused the breakdown.
- Transition gradually from beginner methods to more structured approaches by reading through guides like How to Solve a 3x3 Rubik's Cube Step by Step: The Ultimate Beginner Guide.
- Keep a physical or digital log of your problem areas so you know which algorithms need targeted repetition.
Symptoms You’re Stuck on a Layer and How to Break Through
Recognizing the exact symptom of your stagnation helps you apply the right fix immediately rather than scrambling the entire cube in frustration.
- You spend more than five minutes staring at the first layer trying to figure out where the white corners belong.
- Every time you fix the middle layer, you accidentally destroy the completed white cross on the bottom.
- You reach the final yellow face and realize your corner pieces are completely twisted in opposite directions.
- Your fingers freeze up during algorithms because you have to consciously think about every single quarter turn.
- You rely heavily on trial and error for the final steps, which works once out of every twenty attempts.
"The Rubik's cube is not a test of raw intelligence; it is a mechanical puzzle governed by predictable mathematical algorithms. Once you learn the language of the cube, the illusion of complexity vanishes entirely."
The Psychological Trap of Intuitive Solving
Many intelligent people struggle with the Rubik's cube simply because they refuse to use algorithms, believing that pure logic alone should be enough to conquer the toy. While it is theoretically possible to invent your own method, the sheer number of permutations makes trial and error an exercise in pure agony.
Accepting that you need to memorize a small set of step-by-step sequences is the psychological hurdle that separates struggling novices from successful cubers. You do not need a degree in mathematics; you simply need to trust the sequence of turns even when the middle steps temporarily look chaotic or scrambled.
Hardware Issues: Is Your Cube Actually Broken?
Sometimes the reason you cannot solve your cube has nothing to do with your logic and everything to do with manufacturing defects or mechanical friction.
- Cheap gas station cubes often catch, lock up, and refuse to corner-cut smoothly, causing accidental misalignments.
- Over-tightened center screws can freeze the core solid, making it impossible to execute fast turning sequences.
- Dry plastic friction creates high resistance that causes your fingers to slip and overshoot target rotations.
- Missing internal mechanism parts can cause edge pieces to pop out spontaneously mid-solve, destroying your progress.
- Worn-out stickers or faded shades can make it difficult to distinguish between red and orange under poor lighting.
Investing in a modern, adjustable speedcube with smooth internal mechanisms can instantly eliminate hardware frustration and let you focus purely on pattern recognition and algorithm execution.
Finger Tricks and Muscle Memory Development
Slow turning speeds often lead to mental fatigue during long solves, causing you to lose track of where you are in a sequence.
- Practice turning the outer slices using your index and middle fingers rather than rotating the entire cube in your palms.
- Keep your wrists relatively stationary while your fingers do the delicate work of flicking layers into place.
- Drill your algorithms repeatedly while watching television or listening to music to build subconscious muscle memory.
- Focus on fluid transitions between the end of one algorithm and the beginning of the next one.
- Reduce unnecessary pauses by looking ahead to the next piece while finishing your current movement.
Memorization Strategies That Actually Stick
Trying to memorize long strings of letters like R U R' U' can feel like learning a foreign language without a dictionary. To make algorithms stick in your brain permanently, you must connect the physical hand movements to visual patterns on the puzzle.
- Associate each letter in an algorithm with a specific physical motion of your right or left hand.
- Look for recurring trigger sub-sequences, such as the famous four-move right trigger, which appears in dozens of contexts.
- Visualize the movement of corner and edge pairs rather than trying to memorize abstract letter combinations.
- Test your recall by closing your eyes and visualizing the finger movements away from the actual physical puzzle.
- Review your algorithms daily for just five minutes rather than attempting massive marathon study sessions once a week.
Avoiding Common Beginner Pitfalls During the Solve
Even when cubers learn the correct algorithms, small execution errors frequently sabotage their final results.
- Always maintain the same front and top face orientation throughout an algorithm unless the notation explicitly tells you to rotate the entire cube.
- Double-check your starting grip before executing a long sequence to ensure you are not holding the puzzle upside down.
- Never force a jammed piece into place with excessive physical strength, as this will pop the core or snap a stem.
- Take mandatory breaks if you start feeling frustrated or mentally fatigued, since fatigue leads directly to careless execution errors.
- Verify that your puzzle is fully intact and not accidentally corner-twisted from a previous failed attempt.
When to Step Up to Advanced Speedcubing Methods
Once you can reliably solve a standard 3x3 cube in under two minutes using the beginner layer-by-layer method, you might wonder why your times have plateaued.
- The beginner method requires too many separate steps and lookups, creating a natural speed bottleneck around the 90-second mark.
- Transitioning to intermediate techniques like CFOP (Cross, F2L, OLL, PLL) eliminates unnecessary rotation steps.
- Learning intuitive F2L (First Two Layers) allows you to solve corners and edges simultaneously rather than sequentially.
- For further guidance on breaking speed plateaus, consult How to Solve a Rubik's Cube Faster: Advanced Speedcubing Techniques.
- Maintaining a consistent practice schedule helps condition your hand muscles for lightning-fast recognition and execution.
The Importance of Patience and Persistence in Cubing
Frustration is an inevitable rite of passage for every single person who learns to master the Rubik's cube. World champions spent weeks staring at scrambled plastic before everything finally clicked into place.
Remember that every failed solve provides valuable data about what not to do next time. By treating the puzzle as a mechanical logic game rather than a test of innate genius, you remove the emotional barrier to success. Embrace the process, fix your mechanical errors, and keep practicing until the solution becomes second nature.
Final Practical Checklist for Your Next Solve
Before you scramble your cube again, run through this quick checklist to ensure success on your next attempt.
- Verify that your puzzle turns smoothly and is free of major mechanical catches or misaligned internal edges.
- Confirm you are holding the white face on the bottom and the yellow face on the top for a standard beginner solve.
- Review your four-move trigger sequence and ensure your finger placement is comfortable and relaxed.
- Take a deep breath and commit to executing each step slowly and deliberately without rushing.
- Check out How to Solve a Rubik's Cube Without Memorizing Algorithms if you want an alternative conceptual approach.